
Last updated November 22, 2026
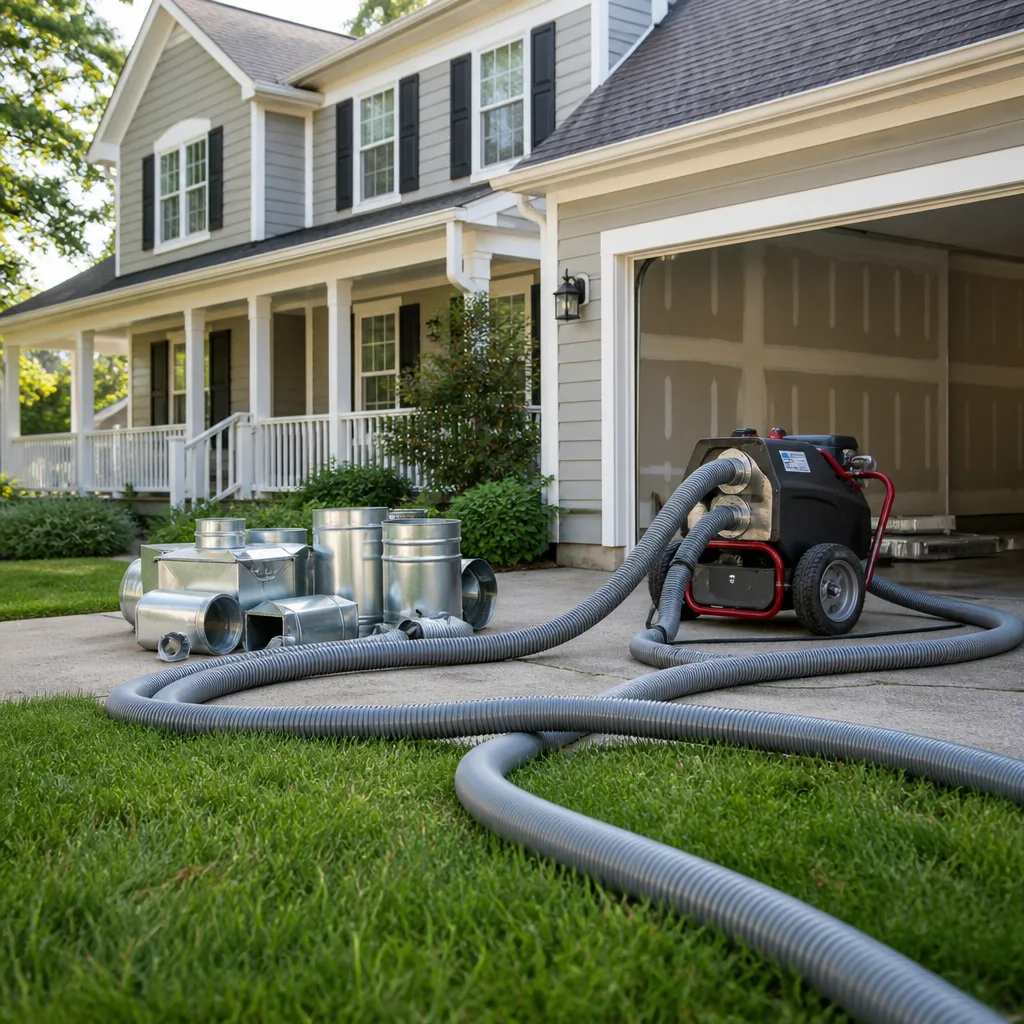 Whole-home duct cleaning
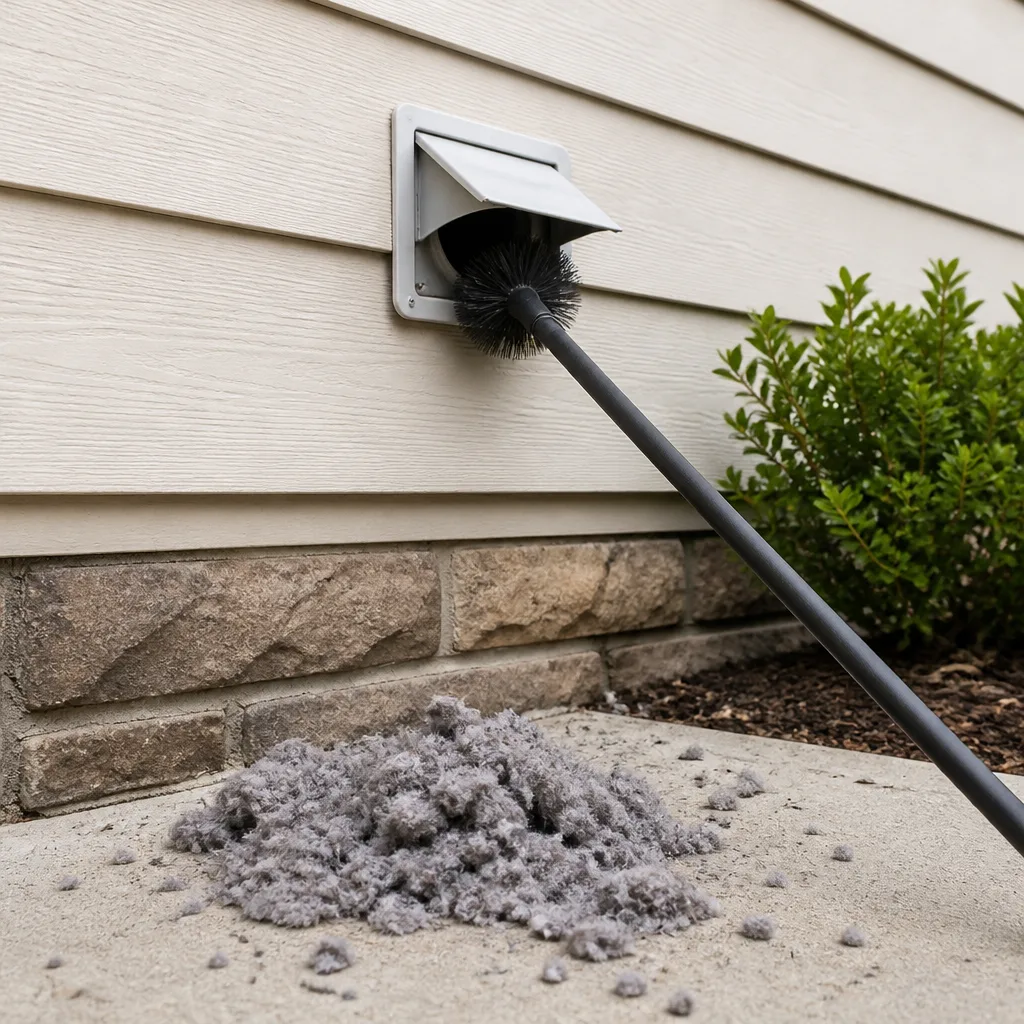 Dryer vent cleaning
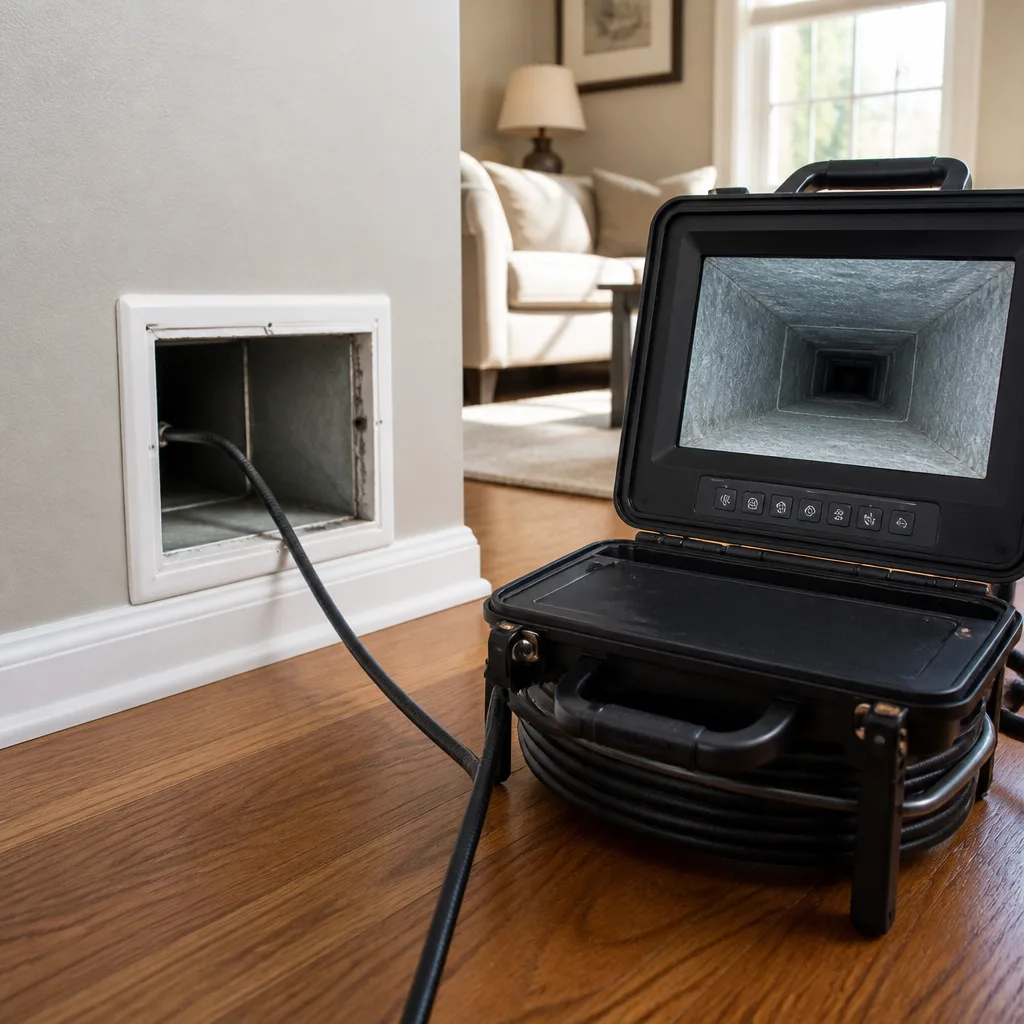 Camera inspection
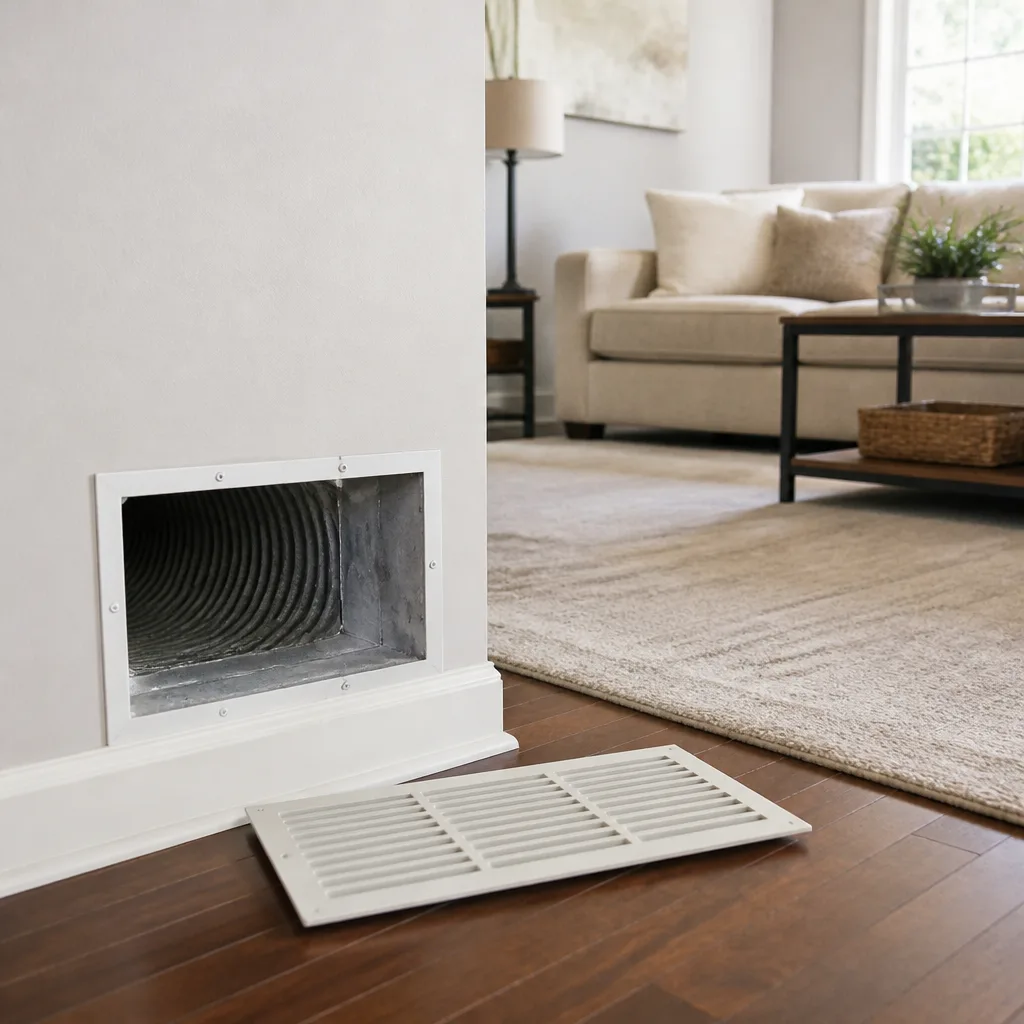 Sanitizing & deodorizing
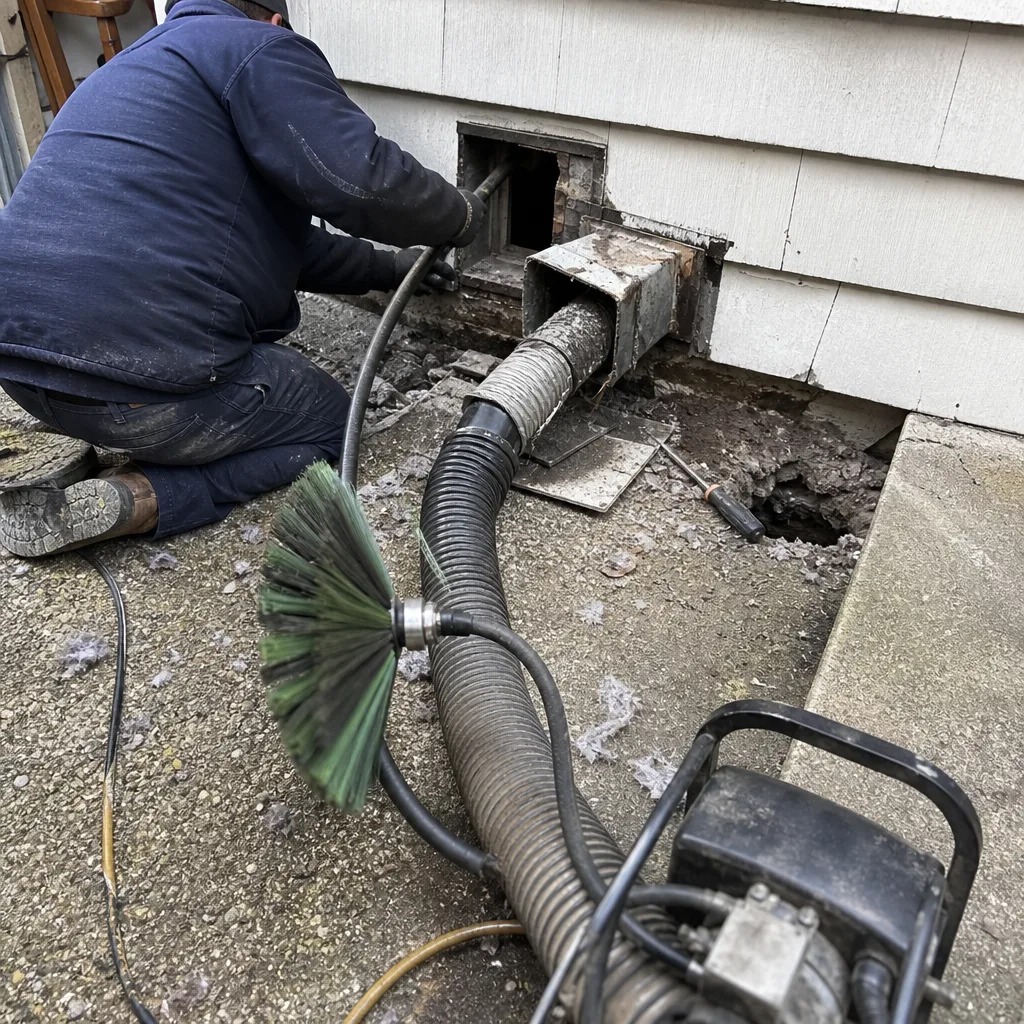
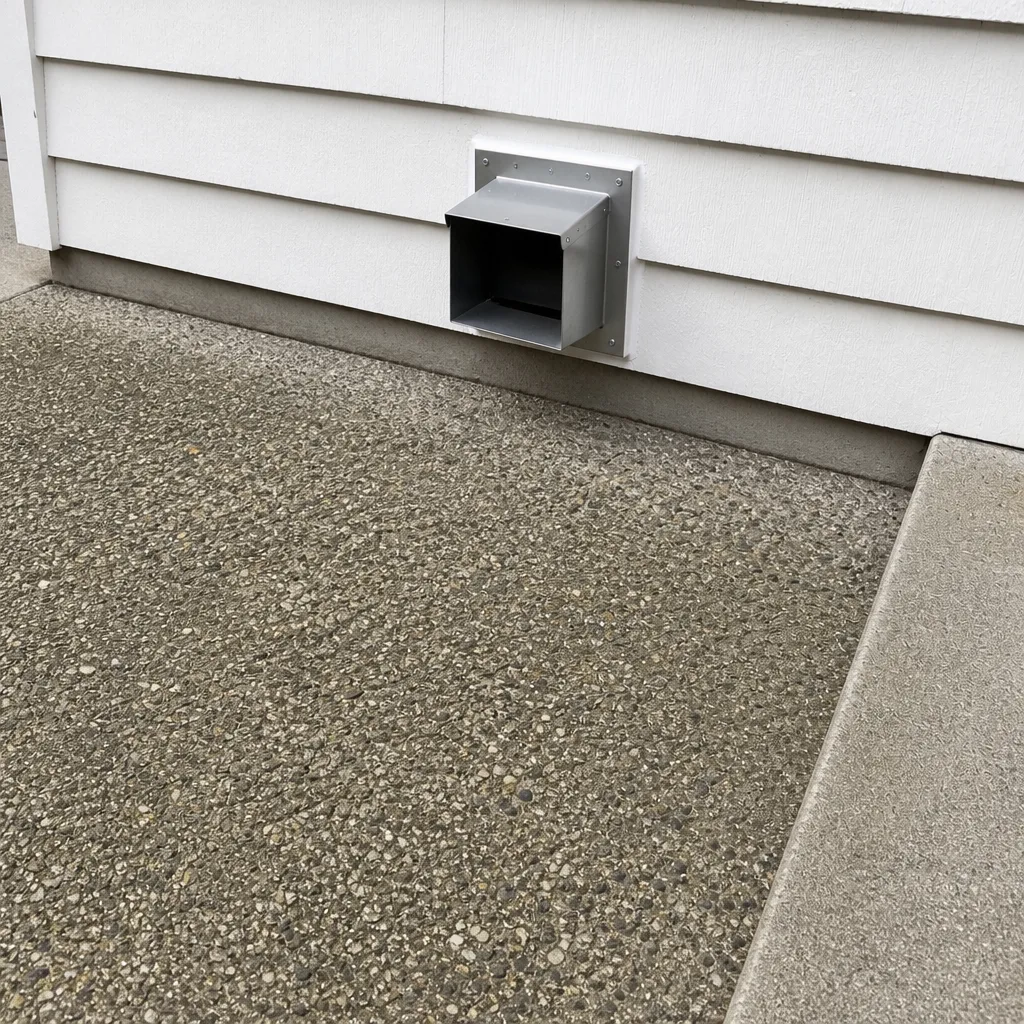
Whole-system duct and dryer vent check with before-and-after photos - you see exactly what came out of your vents
That "$99 whole-house special" is a bait ad - the real number appears once they are in your hallway, or the "clean" is a shop-vac at the register. We photograph the inside of your ducts before and after instead.
Air Duct Cleaning Emergency Preparedness Guide for Elmhurst Homes
After a kitchen fire, most families air out the house, wipe down the walls, and move on. The part almost nobody thinks about is the duct system. Smoke particles that get pulled into the return side of an HVAC system settle on duct interiors and re-circulate through every room for months, long after the smell seems to fade. The same pattern shows up after a burst pipe or a major renovation. Ducts become a holding tank for whatever entered them, and the system keeps moving that material into the rooms where you sleep and eat. This guide covers the three emergencies that most affect ducts in Elmhurst, NY: fire, water, and construction dust. You’ll learn what to do first, what to document, what changes if you wait, and how to know whether cleaning is enough or replacement is the only honest answer.
Quick Answer
After a fire, flood, or major renovation in Elmhurst, keep the HVAC system off until the ductwork has been inspected. Smoke residue, flood contamination, and construction dust all enter the ducts and get pushed back into living space every time the system runs. The right first step is a documented inspection, then professional cleaning and, where needed, duct repair and sealing before the system is restarted.
Styles & brands we work with
- Whole-home duct cleaning
- Dryer vent cleaning
- Camera inspection
- Sanitizing & deodorizing
Table of Contents
- What to Do After a Fire in Elmhurst: The Post-Fire Duct Protocol
- After a Flood: Testing Whether Your Ducts Can Be Cleaned or Must Be Replaced
- Post-Renovation Dust: Why Construction Particulate Is Different
- How to Document Duct Condition for an Insurance Claim
- Why the 48-to-72-Hour Window Changes Everything After Water
- Building an Emergency Plan Before Anything Happens
- Common Mistakes to Avoid
- When to Call a Professional
What to Do After a Fire in Elmhurst: The Post-Fire Duct Protocol
Fire damage in a home has two tracks. There’s the visible damage you can see, and then there’s what moved through the HVAC system while the fire was burning and while doors were opened. When a fire draws air, the return ducts pull smoke, soot, and vaporized synthetic materials into a network you can’t reach with a sponge. A few days later, the house may smell clean upstairs while the basement duct run smells like a campfire. That’s not a mystery. It’s residue sitting in the duct liner, and the blower keeps passing air over it.
Here’s the sequence we recommend after any household fire, including small kitchen fires that were put out with an extinguisher.
- Shut the system down at the thermostat and the breaker. Don’t run heat, cooling, or the fan-only setting. Every cycle pulls more air across contaminated surfaces and pushes particles further into the system.
- Get the fire department or your insurer’s recommendation on whether the home is safe to occupy. Duct work comes after that call, not before it.
- Photograph everything before anyone cleans. Inside registers, the return grille, any visible soot trails around supply diffusers, the air handler area. We’ll cover documentation fully in a later section.
- Book a duct inspection before the HVAC is restarted. An inspection tells you whether the problem is surface soot or whether the liner has absorbed smoke.
- Clean, then repair, then restart. If the inspection finds gaps, disconnected joints, or damaged liner, cleaning alone leaves a path for contaminated air to re-enter. Duct repair and sealing closes that loop.
One thing to keep clear: the danger after a fire isn’t only smell. Combustion residue in a duct system can include fine soot that stays airborne in a way ordinary house dust doesn’t. That’s the specific reason we don’t suggest running the system to “see if it clears up.” For Elmhurst homes in dense semi-attached blocks, there’s also a shared-joint reality to check. Ducts sometimes pass through areas next to a neighboring unit, and any joint that opened during the fire needs to be inspected from the inside, not assumed sealed because the outside looks fine.
After a Flood: Testing Whether Your Ducts Can Be Cleaned or Must Be Replaced
Water damage splits into two very different problems for ductwork. If water entered living space but never reached the duct system, you may only need cleaning for humidity-driven particulate and odor. If water reached the ducts, the question becomes whether the liner is saturated. Saturated liner is not a cleaning problem. It’s a replacement problem, because once the porous interior of a duct has soaked up water, no amount of scrubbing dries it thoroughly, and the interior becomes a moist environment that supports microbial growth for as long as the duct is in place.
This distinction matters in Elmhurst especially. Lots of the housing stock is older, semi-attached, and stacked, and a water event in one floor often travels down a wall cavity into basement ductwork before anyone notices a problem. The whole-house duct run keeps moving air, so a damp section in the basement affects air quality on every floor.
How we assess flood-affected ducts
- Visual inspection of the duct interior. Looking for standing water, staining, liner separation, and any softness in the duct material.
- Moisture probing of the liner. Surface moisture reading only tells you the duct was wet yesterday. Interior probing tells you whether it’s still wet inside the material.
- Odor assessment at returns and supplies. A musty, earthy smell at supply registers usually means the contamination is upstream and active.
- Structural check of joints and connections. Flooding and the resulting swelling often opens joints that were already marginal.
- Decision: clean, sanitize, or replace. Some liner types clean and sanitize well after short exposure. Others, if saturated more than briefly, are replacement calls.
Sanitizing has a real role here. Cleaning removes debris and settled particulate. Sanitizing addresses the microbial layer that can form on duct surfaces after a water event, and it’s how a full remediation order gets completed rather than half-finished. We work with Abatement Technologies and Guardsman products for this stage because both are built for professional application, not consumer-grade foggers. If your Elmhurst property is a rental or a multi-unit building, the assessment has to include every affected duct run, not just the unit where the water was first noticed.
Post-Renovation Dust: Why Construction Particulate Is Different
A renovation is the emergency most Elmhurst homeowners walk into on purpose. Kitchen gut rehabs, bathroom updates, basement conversions, the endless small projects in older homes. Every one of them produces a dust that is not the same as household dust, and standard cleaning methods have to be adjusted to handle it.
Construction dust is a mixture, and each ingredient behaves differently:
- Silica from concrete, mortar, and tile work. Very fine, very abrasive, and it stays airborne for a long time. It settles deeply into duct surfaces.
- Drywall dust from cutting, sanding, and joint compound. Extremely fine particles, notorious for coating duct interiors evenly like a film rather than clumping.
- Insulation fibers from walls, ceilings, and pipe wrap. Fibrous material that can lodge in duct liner and around registers.
- Adhesives, paint overspray, and solvent vapors. These leave a sticky or odorous layer that attracts and holds the particulate.
The adjustment matters because the tools that clean ordinary dust don’t handle construction particulate cleanly. A shop vac pushes as much of it back into the air as it captures. Consumer-grade duct attachments dislodge it without removing it. Professional-grade equipment like the Rotobrush and Nikro systems we use is built to agitate duct surfaces under negative pressure so the loosened material is captured at the source instead of being redistributed into the room.
Steps to protect the ducts during a renovation
- Turn off the HVAC for the duration of the dusty phase. Not just the heat. The fan too. Every cycle pulls construction dust into every duct run.
- Seal registers with tape and poly film. Use actual painter’s tape, not duct tape, so you don’t leave adhesive behind.
- Change the air filter to a mid-efficiency media filter. An overly restrictive filter can strain the blower. A mid-efficiency one catches more than a basic filter without starving airflow.
- Book post-renovation duct cleaning before you restart the system for daily use. The dust that settles in ducts after the work is done gets pushed into living space the moment the system runs, and it keeps cycling for weeks.
- Check the air handler itself. Construction dust settles on the evaporator coil and blower wheel as reliably as anywhere else. If those are coated, the whole system is working harder than it should.
We treat the construction-dust problem as a full-system job for a simple reason. The dust is in the ducts, on the coil, behind the return grilles, and in the dryer vent if the dryer was in the work zone. Handling it piecemeal leaves a hidden reserve that comes back after the first cold snap. A full-system approach with a HVAC cleaning call covers both the ducts and the equipment that moves the air. It also lets us look for duct integrity issues that recent construction may have caused. A subcontractor who was hanging drywall in a tight Elmhurst ceiling space can bump a duct joint loose without noticing, and that joint will leak conditioned air for years if nobody looks.
How to Document Duct Condition for an Insurance Claim
Insurance for duct remediation goes more smoothly when you can show the adjuster what happened and what the duct system looked like before anyone touched it. Claims stall for two reasons: the homeowner cleaned up first and the evidence was gone, or the photos taken don’t actually show what the policy covers. Here’s what to photograph and what a written report should contain.
Photographs to take before any cleaning
- Every visible duct opening. Every supply register and every return grille. Wide shot of the room, then close-up of the register itself.
- Inside each register. A photo of the duct interior as far as the phone’s light reaches. Soot trails, water staining, or dust film should all be visible.
- The air handler and filter. Before removing the filter. The filter is evidence of what the system was pulling in.
- Any visible duct material in basements or mechanical closets. Liner condition, joint condition, signs of water or smoke staining on the outside of the ducts.
- The source event itself. Fire damage, water line, construction work in progress. Timestamps on phone photos make this easy to keep in order.
What a written inspection report should include
- Date, property address, and scope of inspection. Which runs were inspected. Dense Elmhurst properties with three floors of ductwork have a lot of runs, and the report needs to be specific about which ones were seen.
- Condition findings, with photos referenced. Each finding should have a location and a photo number. “Dust film on supply run at second-floor hallway register, photo 4” beats “visible contamination in ducts.”
- Recommended remediation: cleaning, sanitizing, repair, or replacement. With a reason for each recommendation.
- Assessment of duct integrity. Joints, connections, liner condition. If repair or sealing is needed, the report should say so before the claim is filed, not after.
- Any equipment or product specification used in the remediation. This is where professional-grade matters on the paperwork side too. Policies sometimes specify that work be done with industry-standard equipment, and a report that names the equipment is a smoother filing than one that doesn’t.
One practical tip we give every Elmhurst homeowner dealing with an insurance claim: get the inspection before the cleanup crew leaves. Once carpets are pulled and walls are cut, the duct evidence is what’s left, and it’s easy to lose access to a duct run behind new drywall. The air duct cleaning visit should happen while the home is still in its post-event condition, so the documentation matches what was actually there.
Why the 48-to-72-Hour Window Changes Everything After Water
Water events have a timeline, and it’s short. In the 48 to 72 hours after a water event, the situation is still mostly recoverable. Duct surfaces can often be cleaned and sanitized with good results, liner inspection is reliable, and the cost of remediation is usually limited to a cleaning and sanitizing visit plus any minor repair. Past that window, the picture changes.
- Duct liner absorbs and holds moisture. Porous liner material does not dry on its own once it’s wet. The longer it stays wet, the more of the liner is affected.
- Microbial growth establishes itself. Once growth is established on duct surfaces, cleaning alone may not be enough. Sanitizing has to follow cleaning, and the process is longer.
- Joints and connections start to move. Swelling, then drying, then warping. A duct joint that was fine on day one may be leaking by week two. What was a cleaning call becomes a repair call.
- Odor travels through the whole system. The air handler keeps moving air. A musty basement run affects every floor of the home, which changes the scope of the job.
The simplest version of this advice is: if you had water in the house, get the ducts assessed immediately, even if you’re not sure the water reached them. Assessment is quick, it’s cheap relative to what a late remediation costs, and it settles the question. We answer 24/7 for calls like this. Fast dispatch runs 7am to 7pm, Sunday through Friday, and the earlier you’re in the assessment queue, the more of the duct system stays in the clean-and-sanitize category instead of the replacement category.
Building an Emergency Plan Before Anything Happens
The best time to think about ductwork in an emergency is months before one. A five-minute plan made today saves hours of confusion on the worst day of the year. Elmhurst homes are mostly older and often share walls with neighbors, so a fire or a water event in one unit can affect duct runs that seem to belong to another. Knowing who to call and what to photograph in advance is worth more than most people expect.
- Note your HVAC shutoff locations. Thermostat, breaker, and, if there’s a gas furnace, the gas valve. Write these on the inside of a kitchen cabinet door. In an emergency nobody remembers.
- Photograph your ductwork now, in the clean state. Every register, the air handler, the filter, the return grille. Timestamped photos of a clean system make a post-event insurance comparison far simpler.
- Schedule a routine air duct cleaning inspection if you’ve never had one done in the home. Knowing the condition of your ducts before an emergency means you know exactly what changed afterward.
- Get the dryer vent checked at the same visit. dryer vent cleaning is a separate job but it lives in the same air handling family, and a lint-packed dryer vent is its own kind of emergency waiting to happen.
- Keep a written note in a shared place with the phone numbers you’ll need. Insurer, utility, and the duct company you trust. In an emergency, nobody searches well.
- Book a post-renovation cleaning on the calendar before construction starts. Post-renovation duct cleaning should always be scheduled, not improvised.
Our technicians have up to 13 years of experience, and the pattern that surprises homeowners most is how many emergency situations could have been prevented by an inspection that never happened. A duct run that’s been quietly leaking at a joint for years is fine right up until a water event sends moisture into the leak. A dryer vent that was never cleaned is fine until it isn’t. Emergency preparedness, for ducts, mostly means an inspection before the emergency.
Common Mistakes to Avoid
- Turning the HVAC back on to “air the house out.” If the ducts are contaminated, running the system pushes everything into every room. Wait for the inspection.
- Cleaning up before documenting. Photograph first, everything, especially inside registers. Insurance claims for duct remediation need evidence of what the system looked like after the event.
- Assuming construction dust is ordinary dust. Silica and drywall dust coat and penetrate duct surfaces in a way ordinary dust doesn’t. The cleaning method has to match.
- Waiting on water damage to see if the ducts dry out. Duct liner doesn’t dry out on its own once saturated. Past 48 to 72 hours, more of it is affected and the scope grows.
- Hiring a cleaning-only crew after a fire or flood. Cleaning without checking duct integrity leaves leaking joints behind. The contaminants come back through the leaks, and the insurance paperwork gets complicated too.
- Forgetting the dryer vent after a renovation. If the dryer was in or near the work zone, lint plus construction dust in the same vent is a real concern. It’s a separate job from duct cleaning.
- Using a shop vac on ductwork yourself. Consumer vacuums redistribute fine particulate into the room while capturing a fraction of it. Professional-grade equipment is built for the difference, and the difference matters more after an emergency than it does for regular cleaning.
When to Call a Professional
Call for a professional assessment when any of these apply. After any household fire, even a small kitchen fire that was put out quickly. After any water event where you can’t confirm the ducts stayed dry. During or immediately after a renovation that produced significant dust. When there’s a persistent musty smell at supply registers. When a duct joint or liner is visibly damaged. When your insurer requests a written report. And when routine cleaning has been skipped long enough that the ducts are beyond what you’d feel comfortable inspecting yourself.
The point of calling isn’t to sell you a bigger job. It’s to know, with confidence, whether cleaning and sanitizing is the right scope or whether repair and sealing needs to happen first. Elmhurst Air Duct Cleaning offers free estimates in Elmhurst, and our testing is thorough because the answers matter more than the sales pitch. Call (855) 410-4866. We answer 24/7. Fast dispatch from 7am to 7pm, Sunday through Friday, and the written estimate sets the final price for the job.
See the difference
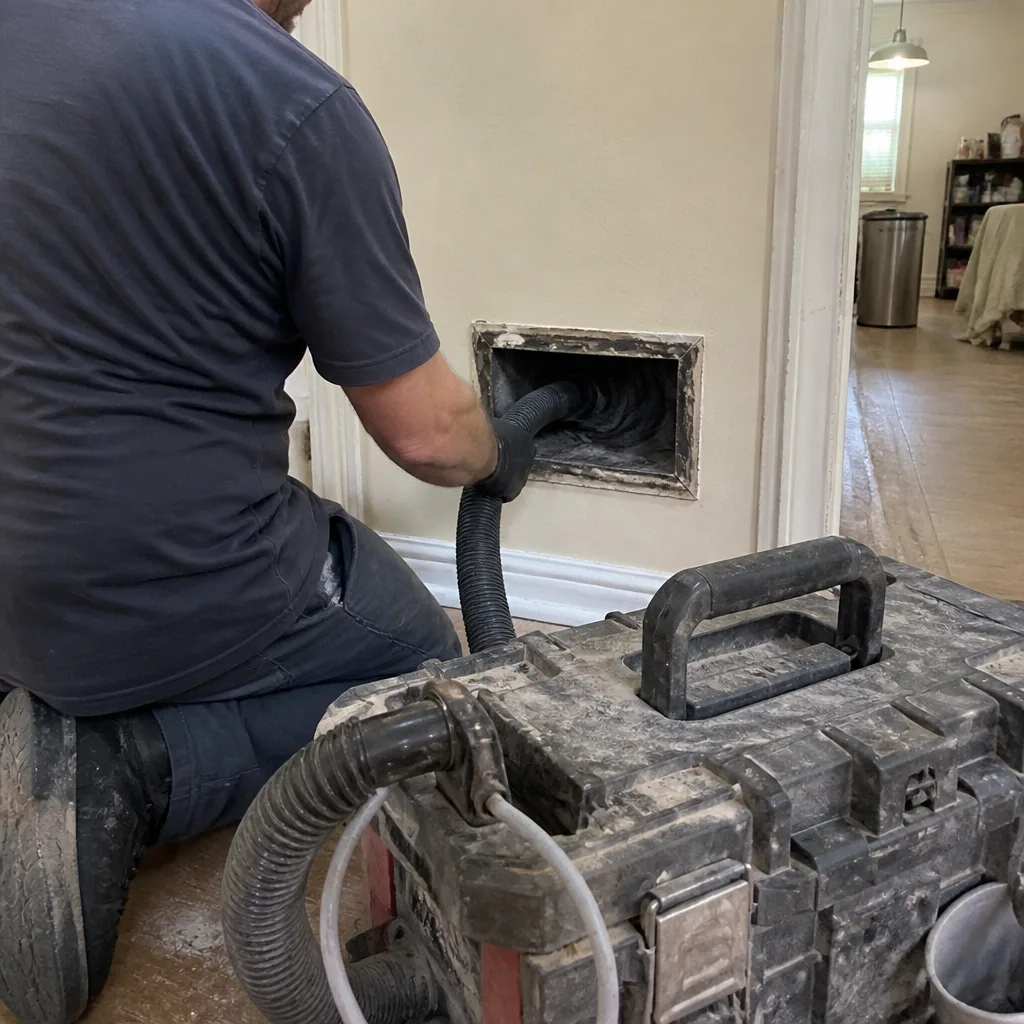 Before
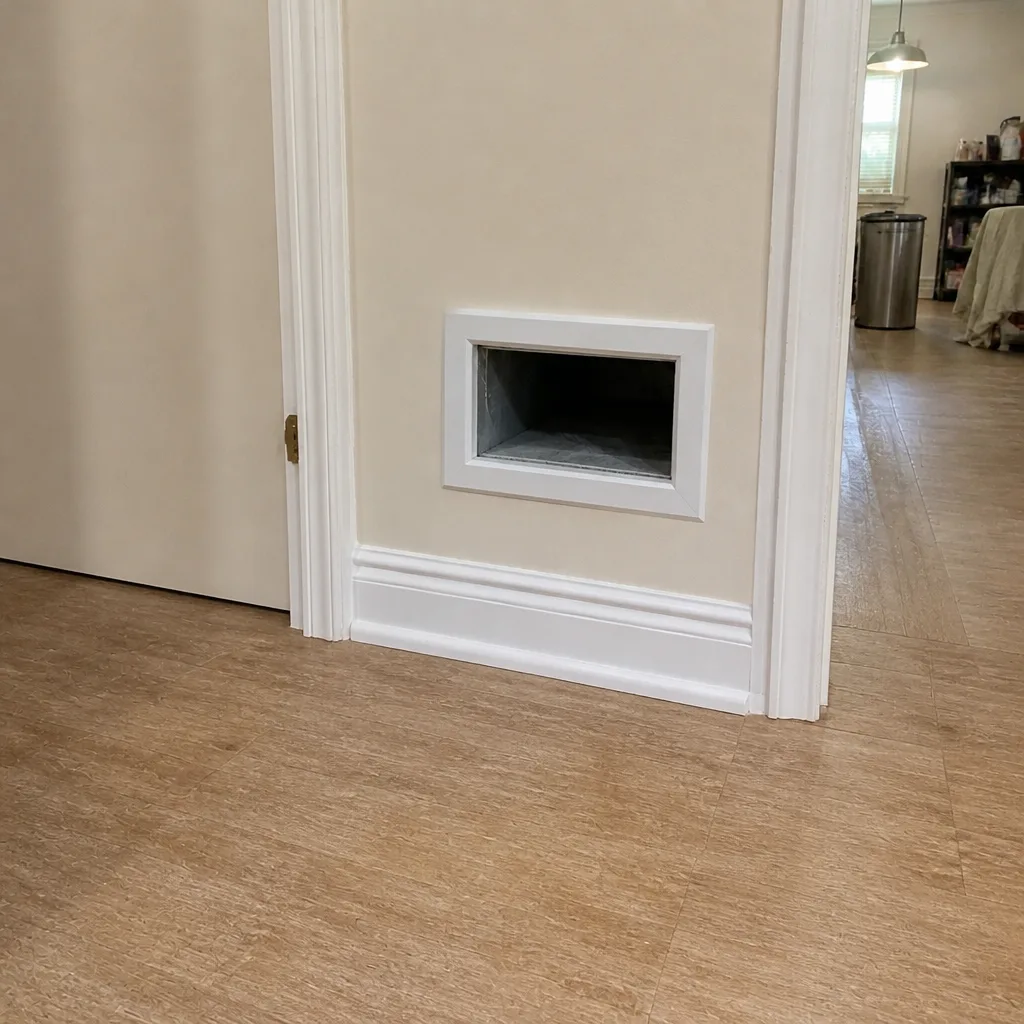 After
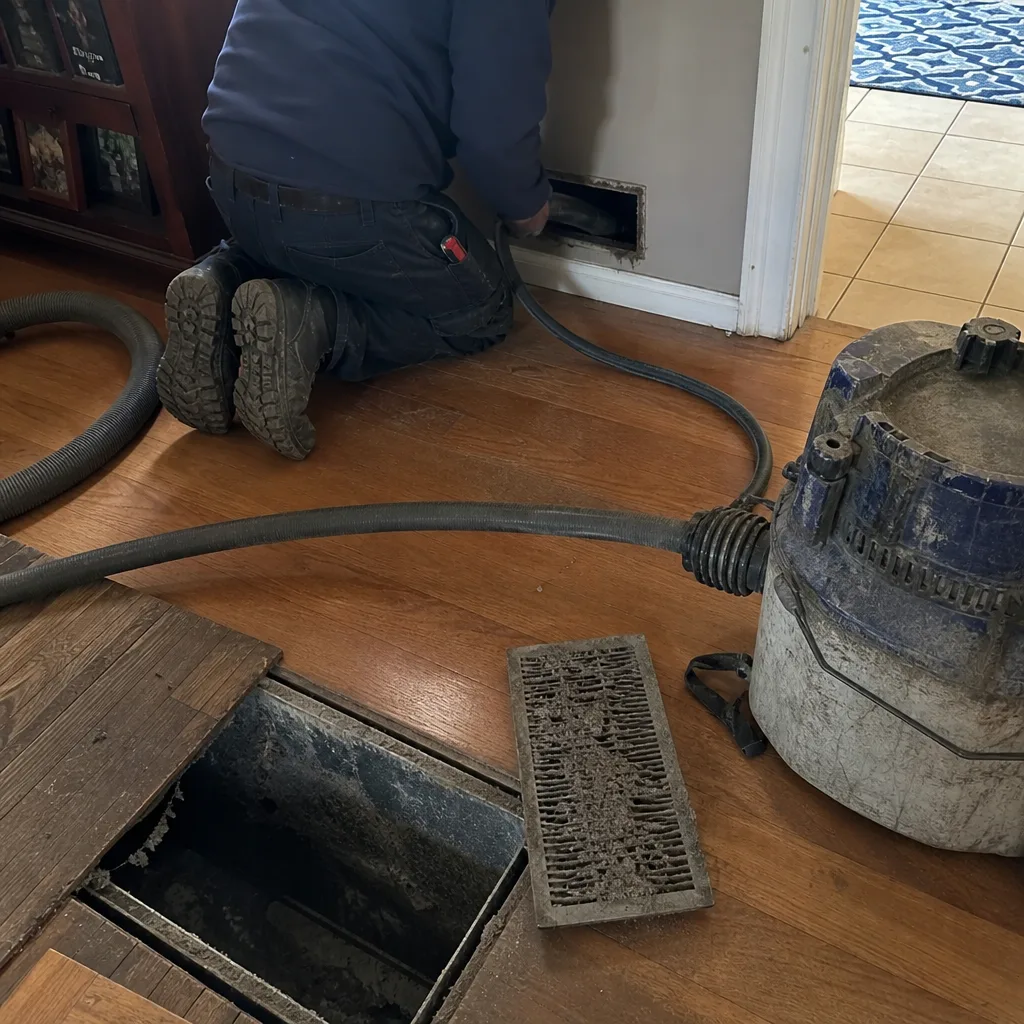 Before
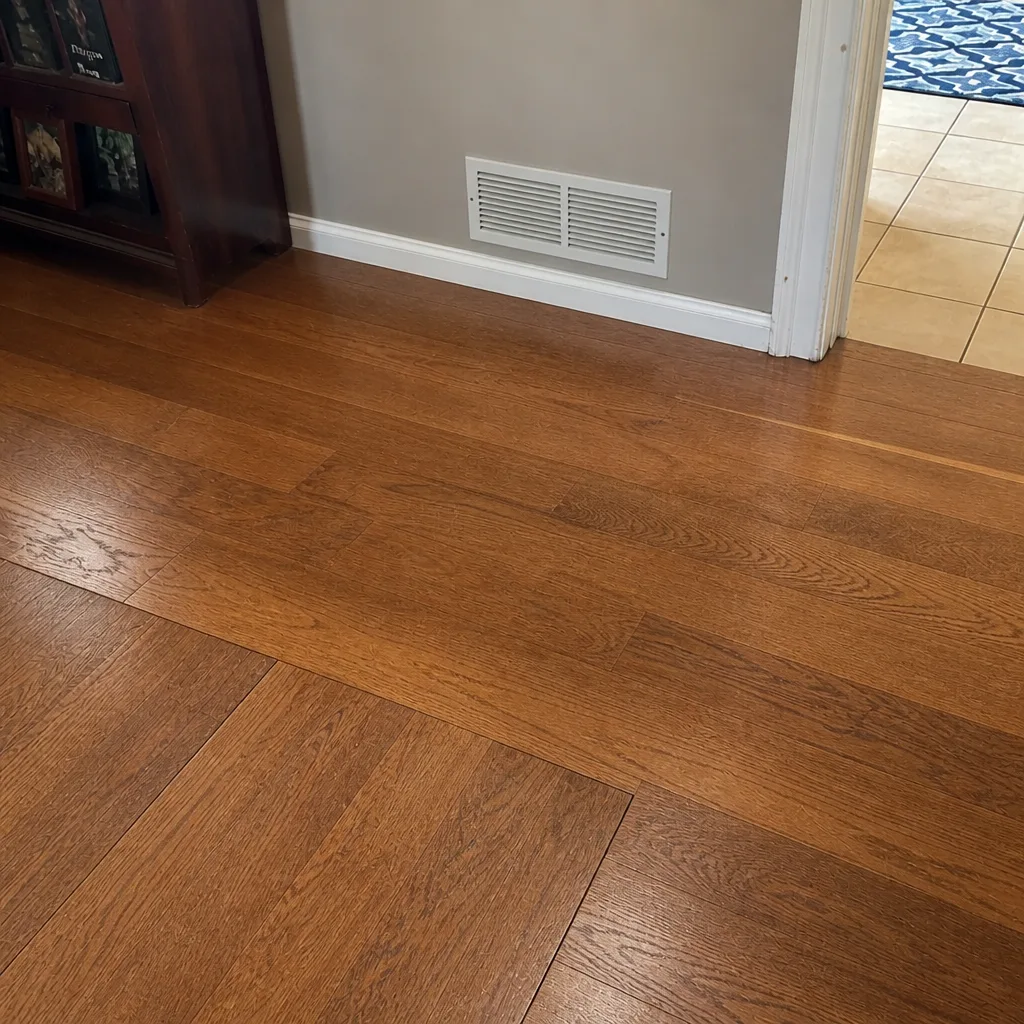 After
 Before
 After
Frequently Asked Questions
Yes, if the fire produced smoke, and here’s why. Even a small fire sends smoke into the return ducts while doors are being opened and the system is running, and the residue that settles there circulates into every room for months. The fire doesn’t have to be large to leave a persistent smell and a real air quality issue.
No, and this is the single most important rule after a fire. Running the system pulls more air over contaminated duct surfaces and pushes soot and smoke particles into living space. Shut the system down at the thermostat and the breaker until the ductwork has been inspected.
It depends on whether the liner is saturated. If water only reached the duct’s exterior or the exposure was brief, cleaning and sanitizing is often enough. If moisture has soaked into the porous liner and held, replacement is usually the honest answer, because saturated liner doesn’t dry thoroughly and can support microbial growth. An interior inspection with moisture probing settles it. Call (855) 410-4866 for an assessment; estimates are free.
Because construction dust is a different material. It’s a mix of silica, drywall dust, and insulation fibers that coat duct surfaces with a film rather than clumping like ordinary household dust. Standard cleaning methods dislodge it without removing it, which sends it back into the room. Professional-grade agitation under negative pressure handles it correctly.
Roughly 48 to 72 hours before the scope of remediation changes significantly. Within that window, cleaning and sanitizing is often enough. Past it, liner saturation, microbial establishment, and joint damage all get more likely and add to the job. Book the assessment immediately, even if you’re unsure the water reached the ducts.
Coverage depends on the policy and the cause, but the phrase “usually” isn’t helpful here; talk to your insurer. What we can tell you is that good documentation matters more than anything else. Photograph the duct internals before any cleanup and get a written inspection report that ties each finding to a photo. That’s the paperwork an adjuster needs to process the claim. Call (855) 410-4866 if you need the documentation before the cleanup crew starts; estimates are free.
The Bottom Line
Ducts are the part of a home that emergencies change and nobody sees. Fire, water, and renovation each put material into the duct system that ordinary dust never does, and each one follows a specific protocol that’s shorter and easier before the timeline slips. Keep the HVAC off after a fire until the ducts are inspected. After water, get the ducts assessed within the 48-to-72-hour window before the scope of remediation changes. After renovation, treat construction dust as its own problem and use professional-grade equipment to clear it. Document everything. When you’re ready to book, call (855) 410-4866. We answer 24/7. Fast dispatch from 7am to 7pm, Sunday through Friday, and the estimate is free with one flat price per system agreed before work starts.
Written by the team at Elmhurst Air Duct Cleaning.